ComboStrap UI - Getting Started

About
How to have a professional website up and running with combostrap.
This how-to guide regroups a series of article to get you started.
Start
How to get DokuWiki Up and Running?
If you have any further questions, wishes or errors, don't hesitate to contact us
How to get DokuWiki Up and Running?
About
Because ComboStrap is built on top of the Dokuwiki Engine, the first step is to have a DokuWiki app up and running.
This article will show you how.
Docker / Server
This tutorial series uses our Docker image for consistency but if you have a standalone server and want to install DokuWiki on it, you can also follow this tutorial series.
Steps
We recommend greatly to use our DokuWiki in Docker image as:
- it's the easiest way to get DokuWiki up and running
- it contains all performance cache system (php-fpm and opcache)
- a Server DokuWiki installation is not easy and straightforward
- and more.
Install Docker
Download the Docker binary or install a package as explained on this article.
On Windows?
On Windows, you need to install WSL by following this instructions. Why? Because Php is still a Linux and C technology that is really slow on Windows. This is architectural as explained on this issue
Create a data directory
- Create a directory to store the DokuWiki Data
mkdir -p ~/site-combo-starter
- And go into it to change the current directory
cd site-combo-starter
Start DokuWiki in Docker
Start a DokuWiki Docker Instance with the following command.
docker run \
  --name site-combo-starter \
  --rm \
  -p 8080:80 \
  --user 1000:1000 \
  -e DOKU_DOCKER_ACL_POLICY='public' \
  -e DOKU_DOCKER_ADMIN_NAME='admin' \
  -e DOKU_DOCKER_ADMIN_PASSWORD='welcome' \
  -v $PWD:/var/www/html \
  ghcr.io/combostrap/dokuwiki:php8.3-latest
where:
- DOKU_DOCKER_ACL_POLICY='public' will configure a wiki that can only be seen by the public. You need to login to modify it.
- DOKU_DOCKER_ADMIN_NAME='admin' create a user named admin with the admin permission.
- DOKU_DOCKER_ADMIN_PASSWORD='welcome' is the password of the admin user
- -v $PWD:/var/www/html mount your current directory PWD into the image at the HTML server root /var/www/html
- –user 1000:1000 will create file as if it were you creating them. The user 1000 is the UID of your Desktop user (in Windows WSL at least)
Check that the instance has started
The command above will:
- start php,
- install DokuWiki,
- install the starter site
- and is ready when you see this lines:
INFO success: caddy entered RUNNING state, process has stayed up for > than 1 seconds (startsecs)
INFO success: php_error_log entered RUNNING state, process has stayed up for > than 1 seconds (startsecs)
INFO success: php_fpm entered RUNNING state, process has stayed up for > than 1 seconds (startsecs)
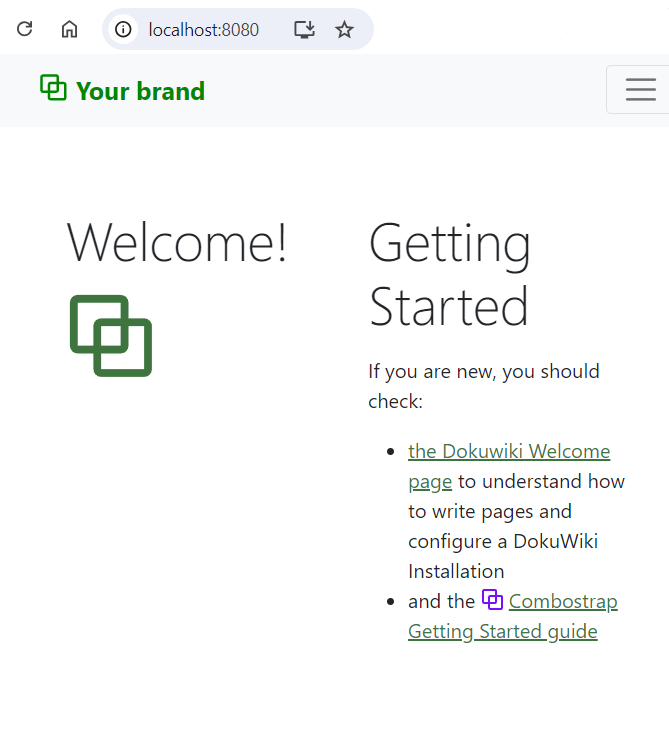
- You can then access DokuWiki at http://localhost:8080
If you want to stop the instance:
- you can press Control+C with your keyboard in the current terminal
- Or you can open another terminal and stop it with the following command
docker stop site-combo-starter
Login
Go to the login page: http://localhost:8080/?do=login
And enter the credentials:
- user: admin
- password: welcome
Next Step
In the next step, you will learn to install a favicon
Favicon Installation
About
This page is an HowTo that shows you how to choose and install a favicon and your logo image with ComboStrap.
Steps
Choosing a icon logo
You can design your own logo but you can also be inspired by collection of logo
In our case we have chosen an icon directly from https://materialdesignicons.com/
- Choose an icon
![]()
- Download the Svg file and rename it to logo.svg
![]()
- Go back in the Advanced Export and create a PNG with the biggest size
![]()
Generate the favicons
- Go to the realfavicongenerator generator
- Upload your PNG image
- Answer the forms, follows the steps and download the package icon
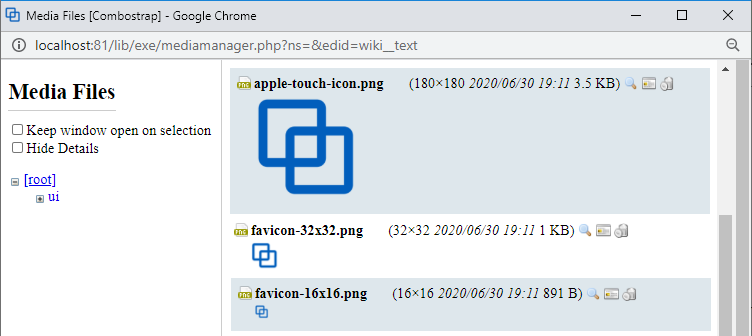
Upload the favicons
- Then upload the below icon files with the Media Manager 1) to the root location (ie DOKUWIKI_HOME/data/media/)
- Click on this link http://localhost:8080/start?ns=&tab_files=files&do=media and upload the following files
- favicon.ico
- favicon-32×32.png
- favicon-16×16.png
- apple-touch-icon.png
- android-chrome-192×192.png (used in the manifest)
- logo.svg
Example:
To see where and how you can use your logo, see the logo page.
Create the facebook default
facebook has a dimension constraint on the image illustration. The image should be at minimum 200px by 200px.
We recommend then that:
- you create an image with your photo editor:
- with the dimension of a facebook card 524×274
- where you copy your logo
- and named logo-facebook.png (the default value)
- and upload it at the root of your media manager (next to the other logos)
The facebook page will tell your more about the specific of a facebook card.
Verify
- Refresh and delete the Browser cache by hitting the key combination
- Ctrl + Shift + R - Chrome
- or Ctrl + F5 - Firefox
- Check that you see your favicon

Next Step
Support
OpenSearch Favicon
In the open search, unfortunately, the icon is the icon of the template and is hardcoded, there is nothing we can do to change it at this place.
We advertise it via sitelinks to search engines.
Most of the search engine, support it this ways, if you really really want it, you need to put it manually at $DOKUWIKI_HOME/lib/tpl/dokuwiki/images/favicon.ico.
Top menubar
About
The templates support the creation of a slot page in order to modify a page layout.
For instance, most of them support a page header slot in order to modify the page header (the top location of your pages)
This is where we will create a menu bar.
Steps
- Go to this URL http://localhost:8080/doku.php?id=slot_header to create a page called :slot_header at the home level
- You will see the menu bar of the starter site.
You can:
- modify it
- or enter a more complicated example. If you have uploaded a icon in the Favicon step, a minimal header slot with a menu bar would look like:
<menubar breakpoint="lg">
<brand title="My Brand">
<icon name="logo.svg" />
My Brand name
</brand>
<collapse>
<group expand="true">
<dropdown name="Menu">
[[#|item]]
[[#|item]]
</dropdown>
</group>

<btn shadow="true" color="white">[[getting_started:getting_started|Get Started]]</btn>
<search/>
</collapse>
</menubar>
More … see the menu bar page
Next Step
In the same way, you can also modify the page footer with the following link: http://localhost:8080/doku.php?id=slot_footer
In the next step, we will store your site as combo site in Git.
How to store your site in Git?
About
This page will show you how to store your site as combo site in a remote Git repository.
Steps
Create a remote Git Repository
We will be using GitHub as example, but you can use any Git Repository Provider such as Gogs, GitLab or Gitea.
For GitHub, follow this article to create your new repository.
Create a local Git Repository
In the directory that was used with the docker command, initialize a Git repository
cd /tmp/site-combo-starter
# Init (ie create ) a local repo
git init
- Rename the master branch to main
git branch -M main
Add the Git remote
- Add the URL of your repository as origin
git remote add origin https://github.com/ComboStrap/site-starter.git
Check the untracked files
git status
On branch main

No commits yet

Untracked files:
  (use "git add <file>..." to include in what will be committed)
       .gitattributes
       .gitignore
       README.md
       conf/
       data/
       docs/
       lib/
       robots.txt

nothing added to commit but untracked files present (use "git add" to track)
Add the combo site files
Add them all
git add .
Create your first commit
- Create a commit
git commit -m "First commit"
Push them to your remote repository
- Push
git push -u origin main
# enter your credentials
# or use SSH Keys (https://docs.github.com/en/authentication/connecting-to-github-with-ssh)
Enumerating objects: 45, done.
Counting objects: 100% (45/45), done.
Delta compression using up to 16 threads
Compressing objects: 100% (36/36), done.
Writing objects: 100% (45/45), 50.71 KiB | 10.14 MiB/s, done.
Total 45 (delta 1), reused 0 (delta 0), pack-reused 0
remote: Resolving deltas: 100% (1/1), done.
To github.com:ComboStrap/site-starter.git
 * [new branch]      main -> main
branch 'main' set up to track 'origin/main'.
Next
You can now develop, change your wiki and push your change to your Git Repository.
Then you can:
- Check the UI Components
- Learn about Routing and redirections
- Have a look at the SEO page
For more tips and tops, you can also subscribe to the newsletter.